
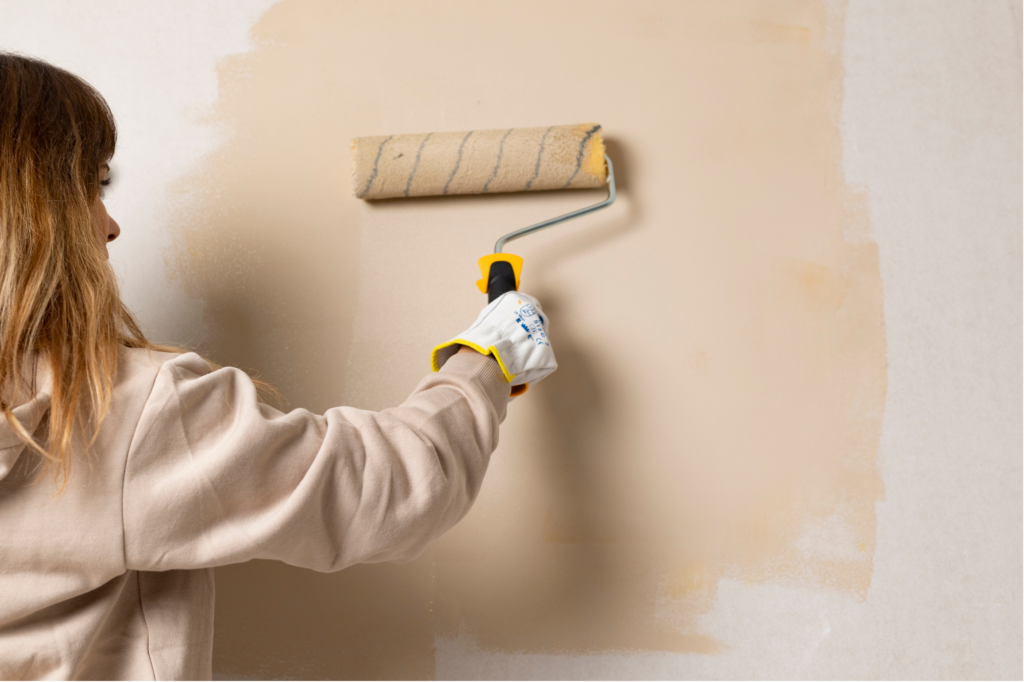
A fresh coat of paint is the single most cost-effective way to transform a room. But the difference between a job that looks great for a decade and one that’s peeling and patchy within a couple of years comes down to planning, preparation and the right products. Here’s how to approach an interior repaint properly.
Start with a plan
Before you open a single tin, get clear on the scope. Which rooms, which surfaces (walls, ceilings, trims, doors), and what’s driving the project: freshening up, selling, or a full change of look? Knowing this shapes everything from colour choices to how long the job takes and whether it’s a DIY weekend or a job worth handing over.
Choosing colours that work
Colour is where most people get stuck, and Wellington adds its own twist: our light changes constantly, and many homes have smaller windows or shaded aspects.
- Test on the actual wall, not the swatch. Paint a large sample patch and watch it across a full day: morning, midday and evening light can make the same colour look like three different ones.
- Lighter, warmer neutrals open up smaller or south-facing rooms that don’t get a lot of sun.
- Consider flow between rooms. A loosely coordinated palette across a home feels calmer than every room doing its own thing.
- Don’t forget trims and ceilings. A crisp trim colour is what makes a paint job look sharp and finished.
Preparation: the step people skip
This is where good and average paint jobs part ways. Proper prep means moving and protecting furniture, filling holes and cracks, sanding back rough or glossy surfaces, spot-priming repairs and bare patches, and cleaning walls so the paint actually bonds. It’s the least glamorous part of the job and the most important, because paint is only ever as good as the surface underneath it.
Paint types and finishes explained
The finish (or sheen) you choose affects both looks and durability:
- Matte / flat hides wall imperfections beautifully and suits ceilings and low-traffic rooms, but it’s harder to wipe clean.
- Low-sheen / eggshell is the popular all-rounder for living areas and bedrooms: a soft finish that still wipes down.
- Semi-gloss and gloss are tougher and more washable, which makes them ideal for trims, doors, kitchens and bathrooms.
- Moisture-resistant formulas are worth it in bathrooms and kitchens, where Wellington’s damp can otherwise encourage mould.
Quality paint costs more per tin but covers better, lasts longer and looks richer, and it’s almost always the better value over the life of the job.
DIY or bring in a professional?
Painting a single bedroom is a realistic DIY project for most people. A whole house, high ceilings, detailed trim work, or anything involving significant prep and repairs is where a professional saves you time, mess and a result you’ll actually be happy with. We’ve written an honest look at when to hire a painter versus doing it yourself if you’re weighing it up.
The Silver Fern approach
We treat prep as seriously as the paint, protect your home and belongings, keep the place tidy, and don’t pack up until you’re happy with every wall. Thirty-plus years of doing it properly is why most of our work comes from referrals.
See some of our recent projects, or get a free quote for your interior. We’ll give you honest advice and a clear price, with no pressure.